|
This time at Norikura, I brought my XPLORE setup.
I arrived early in the morning and headed straight for the very topーwhat
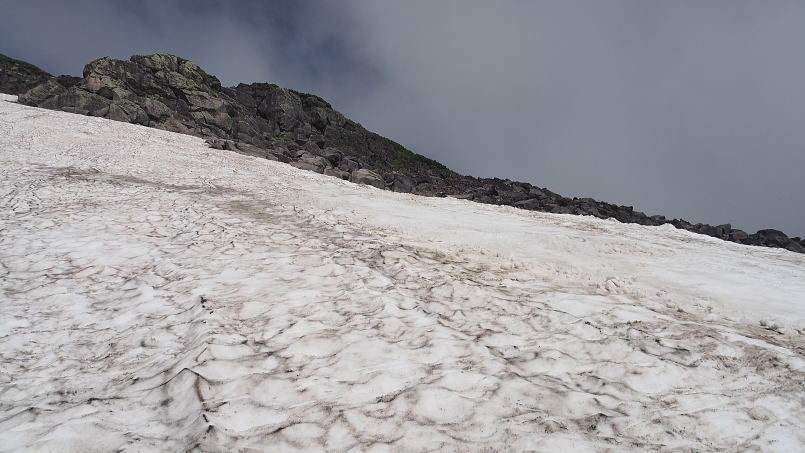
we call "Stage 3." There are two mogul lines there, one short
and one long. I tried the shorter one first, but it just didn't feel right.
"Well... with a slope this steep and this firm, plastic boots are probably the right tool."
So I gave up on that idea pretty quickly.
Instead, I moved over to a spoon-cut section beside the mogul line. Using
my ski edges, I smoothed out a short sectionーjust enough for about three
turnsーand started practicing there.
The pitch here is pretty serious. Braking with the XPLORE setup was at full capacity.
"What on earth am I doing up here?!"
I kept asking myself that, but the thrill of knowing a fall might not stop until the rocks below kept me going. I ended up making more than ten runs.
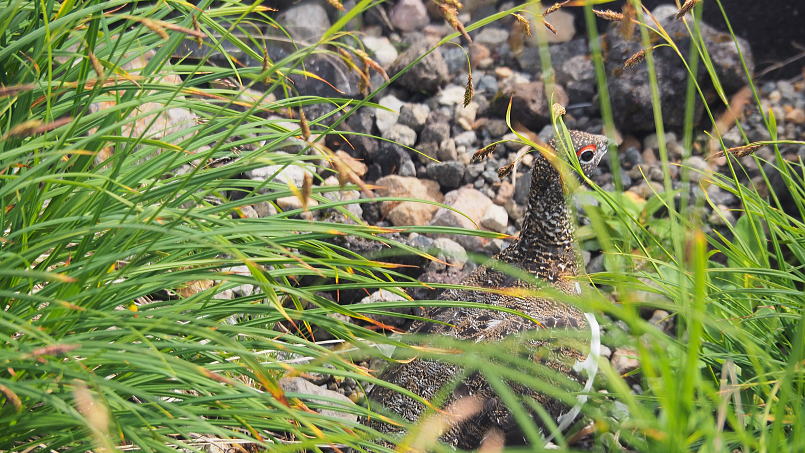
Before I knew it, a ptarmigan had stopped by as a guest and seemed to be watching me... haha.
Technically, the key was a parallel spin with as little vertical movement as possible. From there, I touched both skis to the snow in parallel and used that contact as braking resistance.
Hmm... I still think the NNN BC system has the edge when it comes to braking.
The reason is simply the stiffness of the boot sole. On top of that, the raised ridge on the NNN BC binding locks very securely into the matching groove in the boot sole.
Another thing: putting your skis on while standing on a hard, steep slope is quite difficult with XPLORE. Of course, you could say, "Well, that's not really what XPLORE was designed for," and you'd be absolutely right.
On the way down, I stopped at what we call "Stage 2."
This is a gentler slope, where old ski tracks have stretched out into deep ruts. The question here is: how can you use them and have fun?
We've been working on exactly this during the last two summer snowfield ski camps, so I decided to give it another try.
A very common mistake is to see a curved rut and immediately put the ski tips into it. But that usually ends in failure.
A ski rut is simply the result of braking. What remains in the snow is the track left by the tails of the skis. So putting your ski tips into that groove from the start is already missing the point.
Those ruts exist because the ski edges moved from Point A to Point B, then to Point C, repeatedly pushing and cutting snow in the same direction.
And why do we do that?
For one simple reason: to use that cutting resistance as braking.
So when you look at a ski rut, don't just focus on the final pointーPoint
C. The important thing is to imagine the entire movement from A to B to
C.
At the end of the video, I walk through that imagined line in my boots to help visualize the idea.
Just another way of looking at things.
I hope you find it interestingーor perhaps even useful.
|